This guide shows where your company's members live and what you can do with them: invite colleagues, give someone admin rights, deactivate or remove a member, and add departments. Most of it happens in the company settings window.
1. Open the company settings#
Click the company card in the top bar, next to your name. It shows your company name and, if you have one, the company badge. The company settings window opens on the Company tab.
The header shows the number of members, pending invites and the company's Email domain. The tabs are:
| Tab | What it holds |
|---|---|
| Company | Company name, description, tags, product types, logo and badge |
| Members | Members, inactive members, pending invites and join requests |
| Roles & permissions | What QC managers and MDB managers may do, and sign-in security |
| Address | Your company details from Google, and the marketplace listing |
| Billing | Subscription, payment methods, invoices and invoicing details |
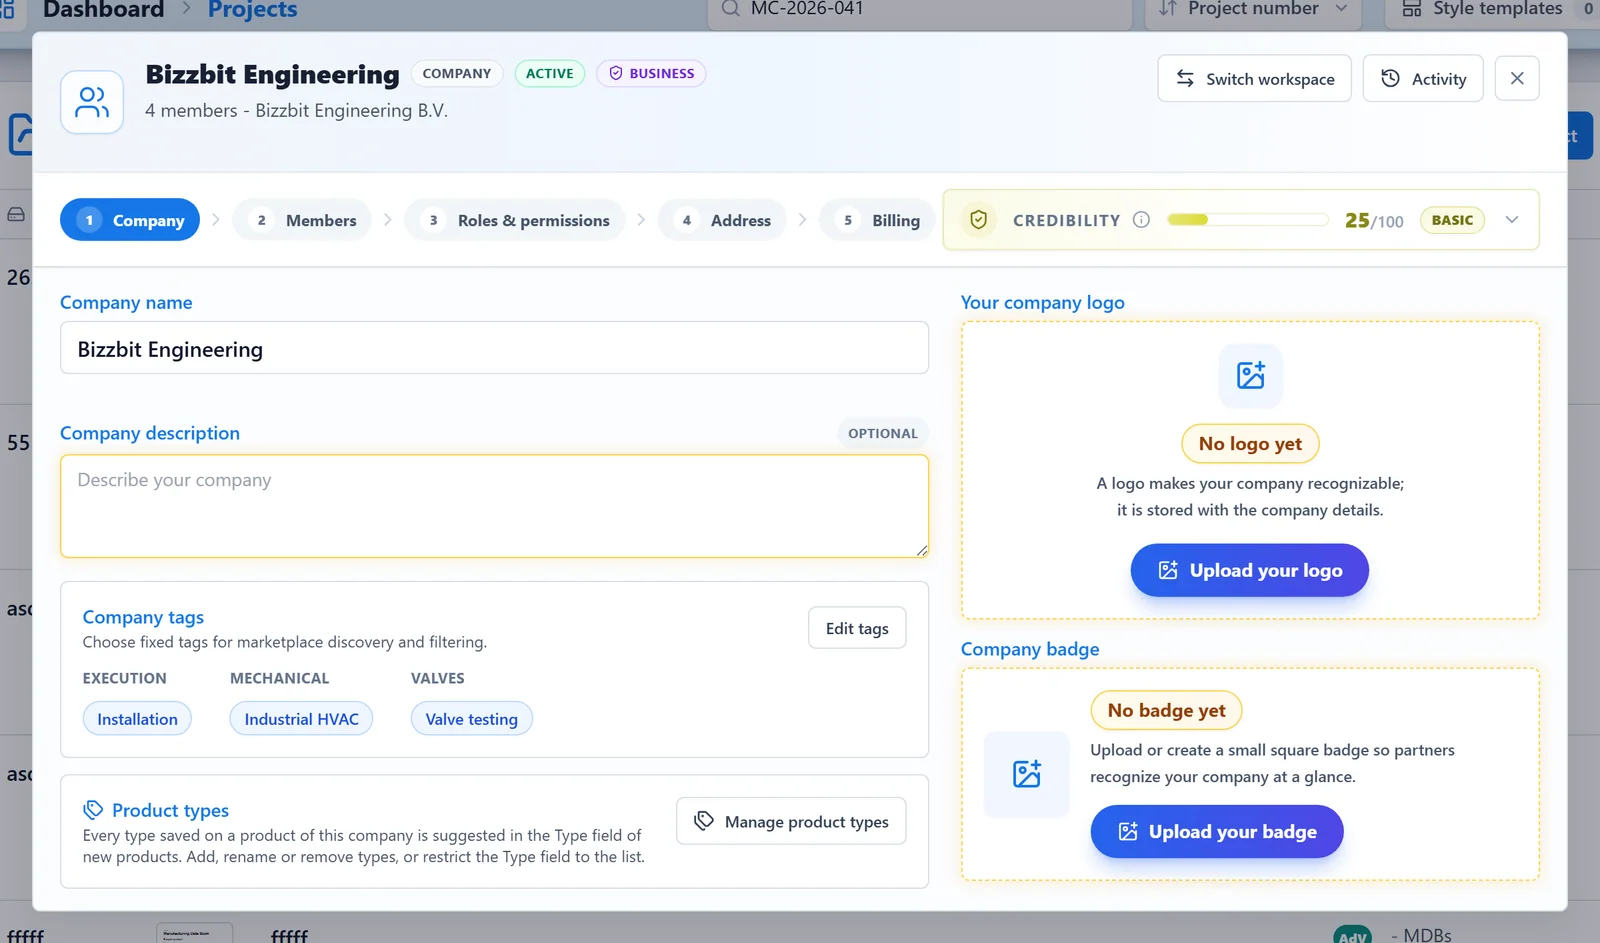
On the Company tab you can rename the company. The first rename is free. After that the name is locked for a while, and the field shows Locked until with the date of the next possible change. See Permissions and company settings for the other fields.
2. See who is a member#
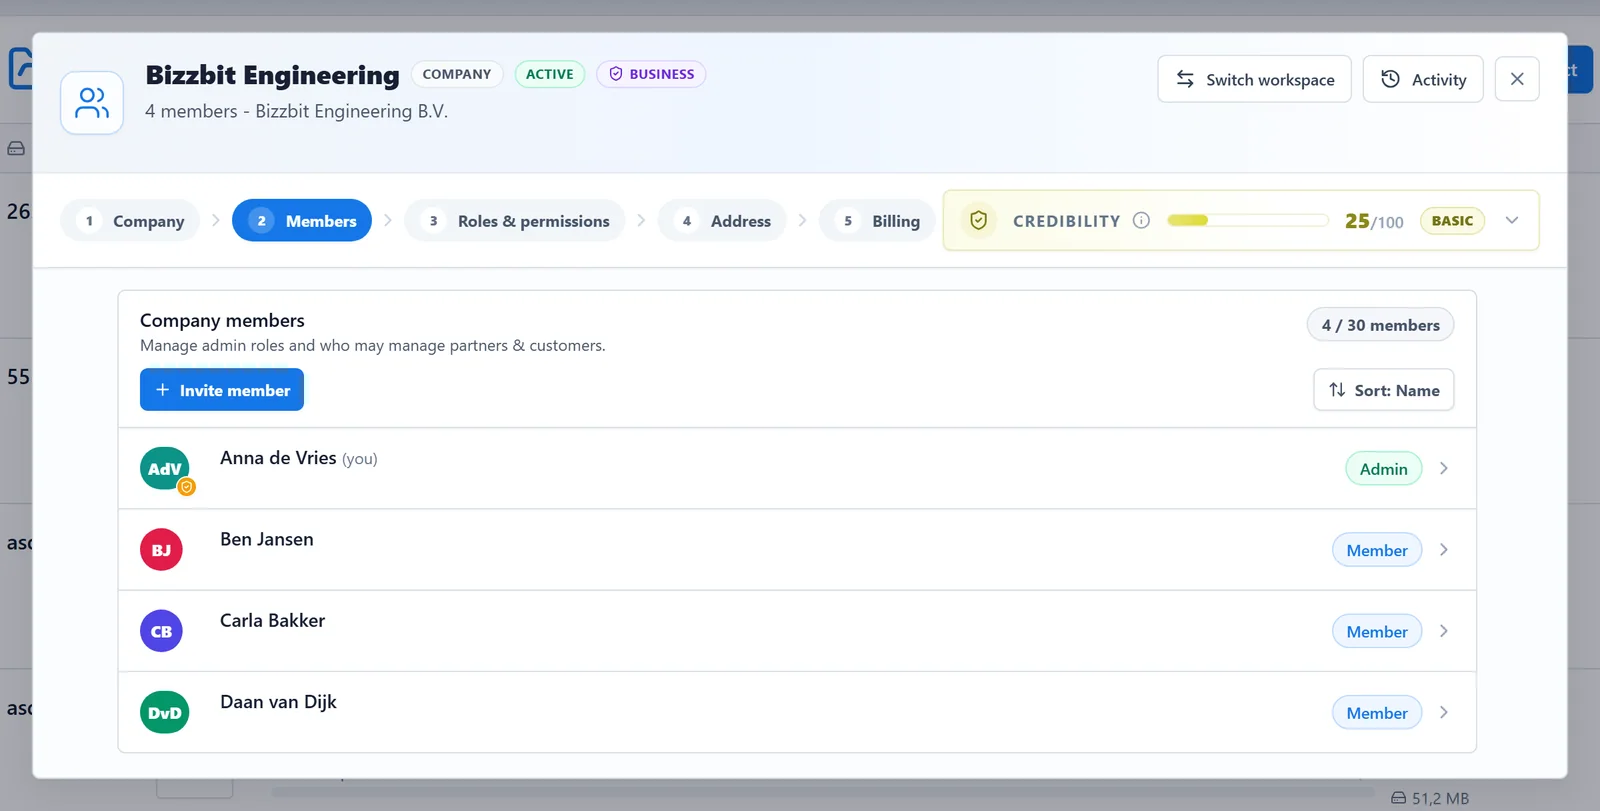
Open the Members tab. Every member is listed with a role badge:
- Owner: the person who created the company. The owner can't be removed.
- Admin: on the Pro plan, admins manage members, billing, the subscription and every setting. A shield on the initials marks an admin.
- Member: everyone else.
The counter at the top, for example 4 / 10 members, compares the active members with the member limit of your plan. Use Sort to switch between sorting by name and by role.
Below the list you find:
- Inactive members: people who keep their account but have no access to the company (see step 4).
- Pending invites: invitations that have not been accepted yet. An invitation that has run out shows Expired; invite the address again to send a new link.
When someone on your email domain asks to join, their request appears at the top of this tab and the tab shows a red counter.
3. Invite a colleague#
Click Invite member on the Members tab. You only type the part before the @: the company's email domain is filled in for you. Click Send invite.
All members of a company must use the same email domain. For customers and suppliers on another domain you use partnerships and shares instead. See Invite your colleagues for the invitation email and join requests.
4. Change a member's role, status or name#
Click a member to open their details. What you see depends on your plan and your role.
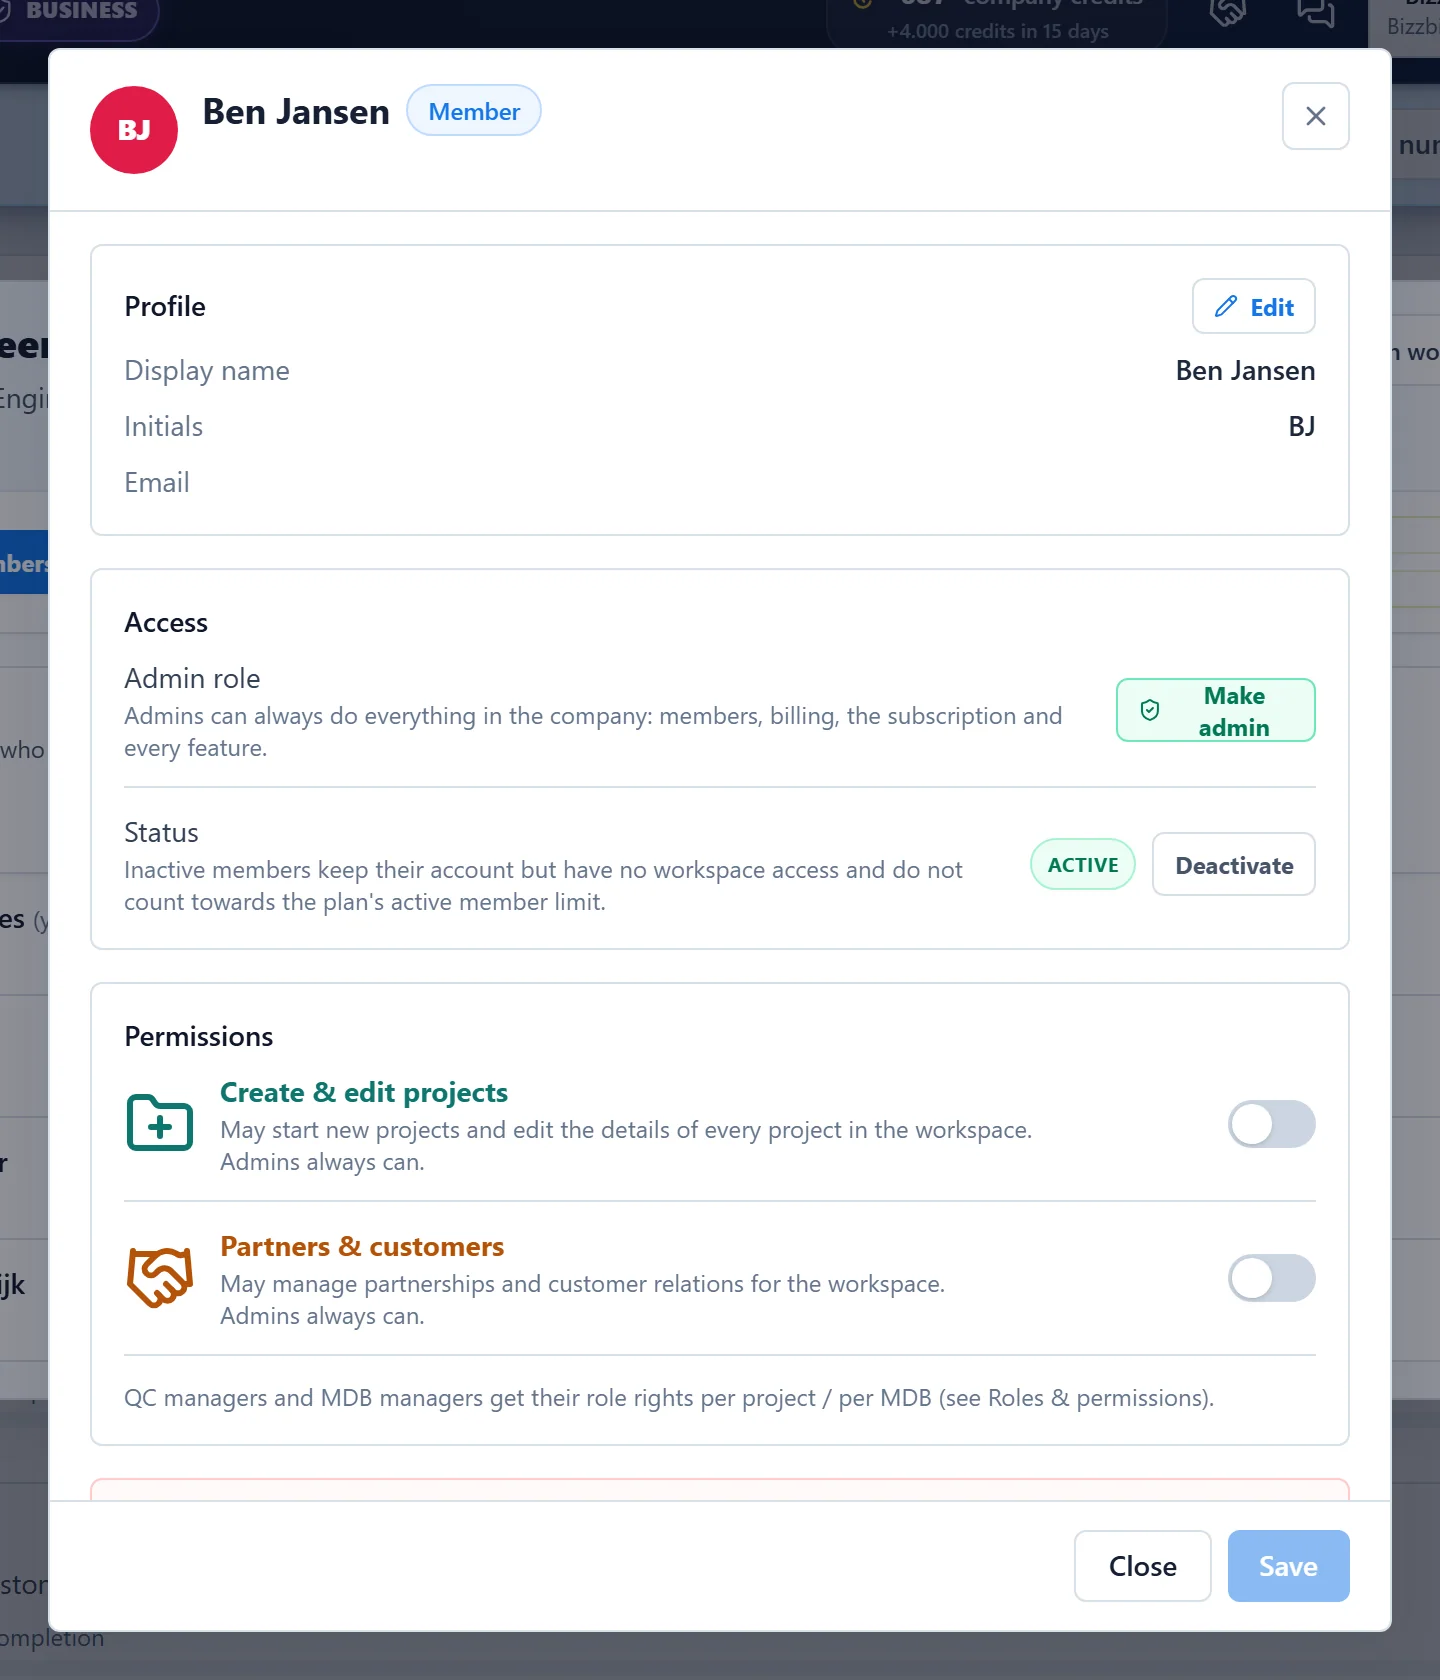
- Profile: click Edit to change the Display name and Initials the company uses for this person. Click Save at the bottom.
- Access (Pro, admins only):
- Make admin gives the member admin rights. Revoke admin rights takes them away. The number of admins is limited by your plan.
- Deactivate turns the member into an inactive member. They keep their account but lose access to the company, and they no longer count towards the member limit. Activate gives the access back. Admins are always active.
- Permissions (Pro): switch on Create & edit projects or Partners & customers for this member. Admins always have both. Click Save.
The QC manager and MDB manager roles are not set here. You assign them per project and per MDB. See MDB managers and checkers.
5. Remove a member who leaves#
In the member's details, click Remove member under Remove from company. A short wizard checks the member's projects first:
- The member is taken off every project team, and their MDB manager roles are cleared.
- Every project needs at least one QC manager. For each project where this person is the only QC manager, you pick a replacement. Members of the project team are suggested first.
Click Remove member to confirm. The member loses access to the company, its projects and its MDBs. You can't undo this.
6. Add a department#
A department is a separate workspace inside your company, for example for another site or business unit. It has its own details and its own members, who all use the company's email domain.
- In the company settings, click Switch workspace at the top.
- Next to your company, click Add department. You only see this button for the company you are working in, and on the Pro plan only when you are an admin.
- Walk through the three steps: Company, Department (name, description and tags) and Members, then click Add department.
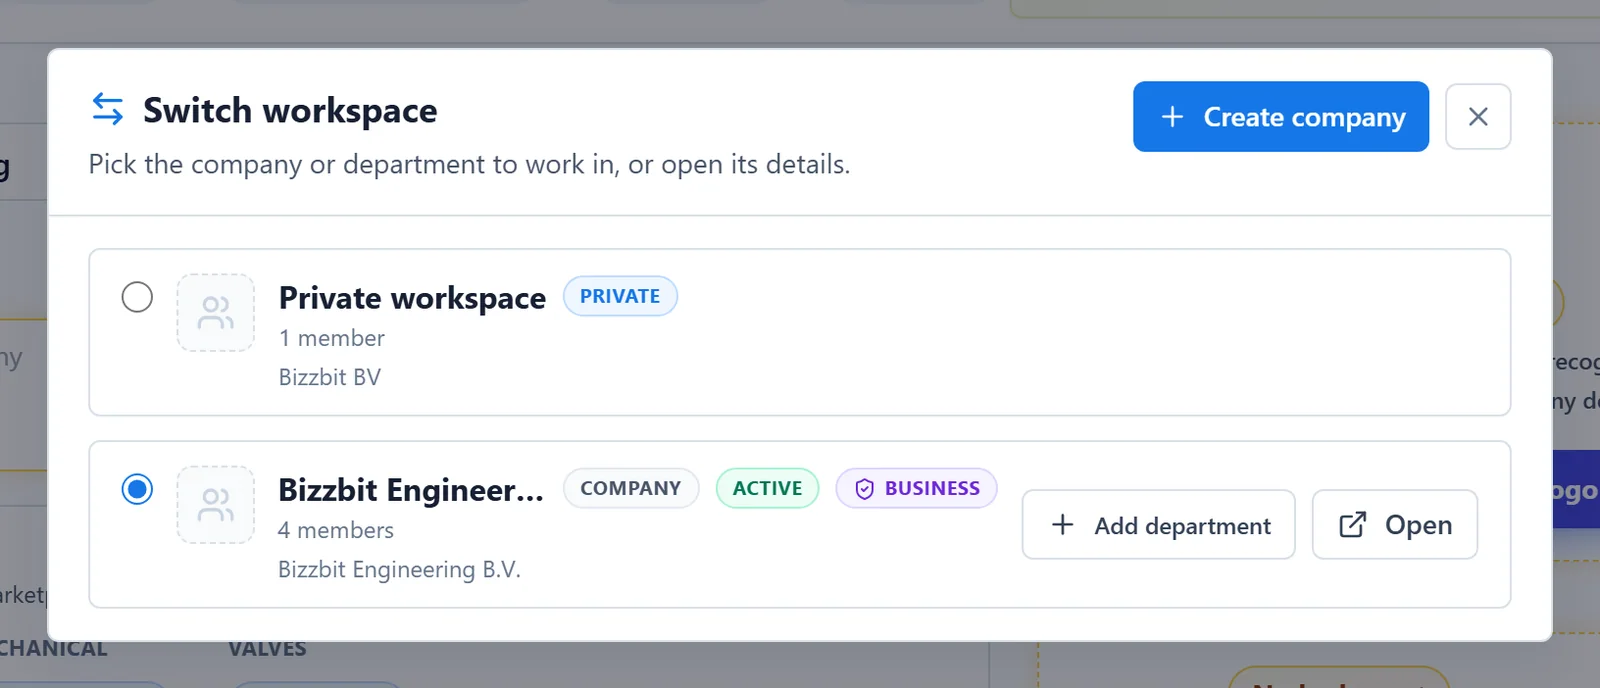
The same window lets you move between workspaces. Select the round button in front of a workspace and confirm with Switch workspace, or click Open to see its details.
Moving projects from your private workspace#
When you create your first company, the projects in your private workspace can move along. After you click Create company, the Choose projects to transfer window lists them all, and all of them are selected. Untick the ones you want to leave behind, then click Confirm and create company.
A project that holds an MDB shared with you by a partner is marked Shared MDB. If you leave it behind, that shared MDB comes loose from the project and shows up again under Shared with you in the new workspace.