Projects and products change during an order: a PO number arrives, a tag number is corrected, a product is dropped from the scope. This guide shows where you change project and product details, and how deleting works. Deleted products and projects go to a recycle bin first, so a mistake can be undone.
1. Edit a project#
With the project open, click the pencil on the Project card at the top of the page. In the projects list you can also click Edit projects and then the pencil on the project's row.
In the Edit Project window you can change:
- Project number and Project name. The project number must stay unique.
- The customer. See Partners, customers and suppliers.
- More project details: the customer project number and optional references such as the purchase order, contract and sales order number, the site, and planning dates. You can add fields of your own.
- Project roles (Pro, admins only). See Roles and permissions.
- Move project to another workspace (admins only).
Click Save changes.
2. Edit a product#
Open the project and click Add/edit products. Every product row now shows its actions. Click the pencil (Edit product) on the row.
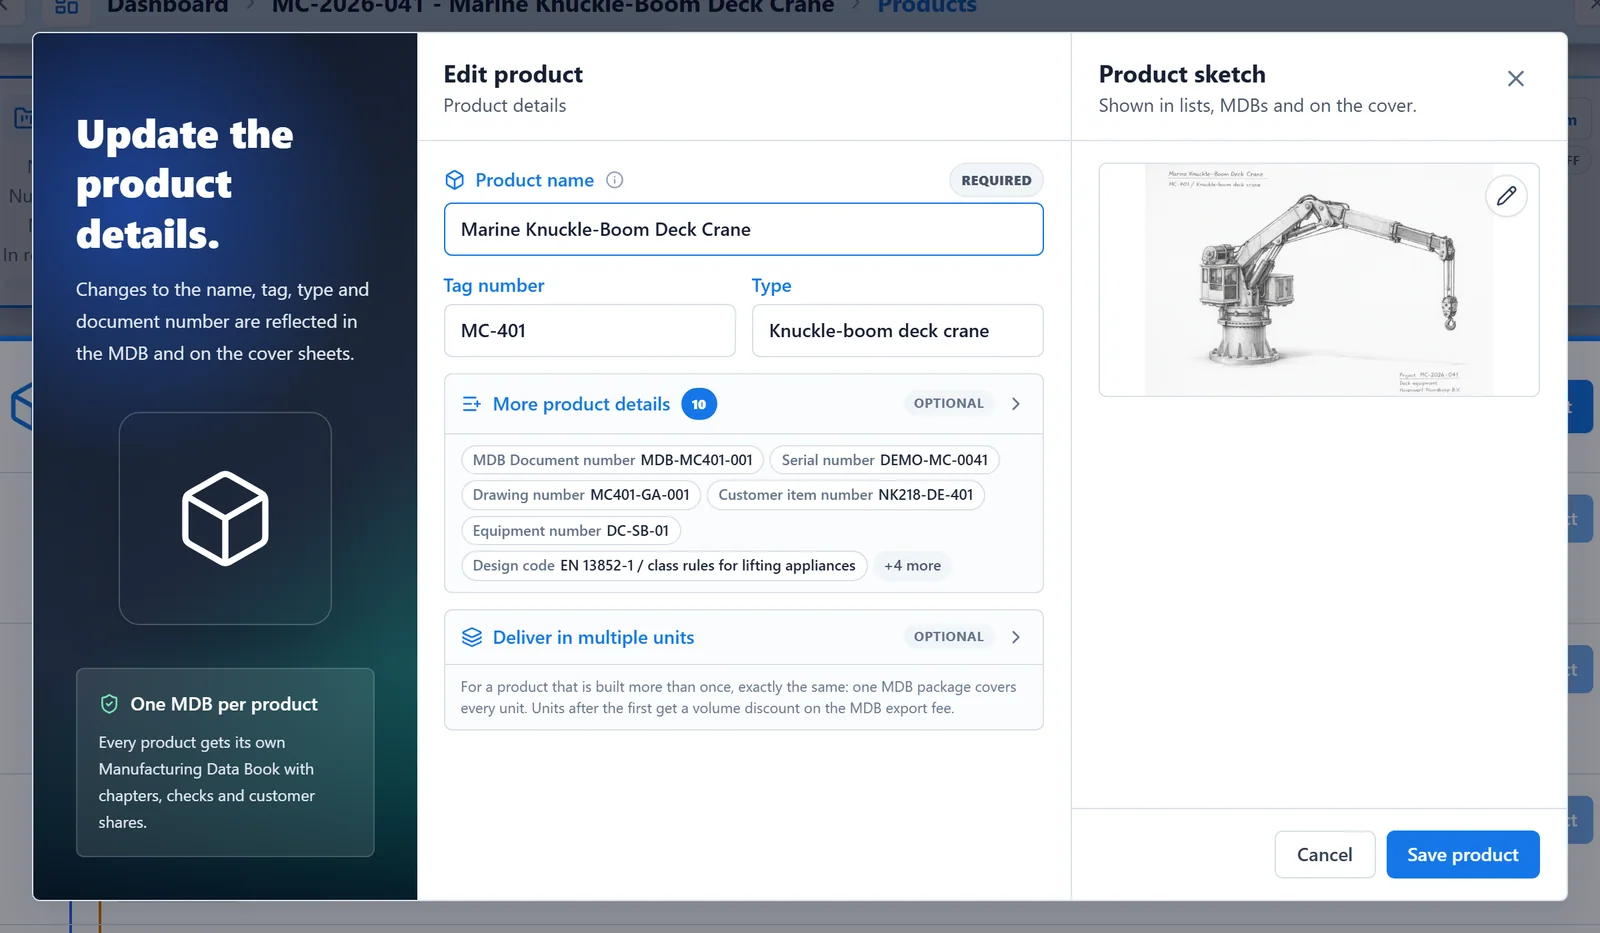
Change the Product name, Tag number, Type, More product details, Deliver in multiple units or the sketch, and click Save product. Tag numbers and MDB document numbers must be unique within the project; a duplicate turns the field red and blocks saving.
Duplicate product (the copy icon) opens the same form with every value of the original filled in, including the sketch. Give the copy its own tag and document number, then create it. The copy lands directly below the original and gets its own new MDB.
3. Add more product details#
Click More product details in the product form. Add only the fields you need: click a field name to add it, the cross to remove it.
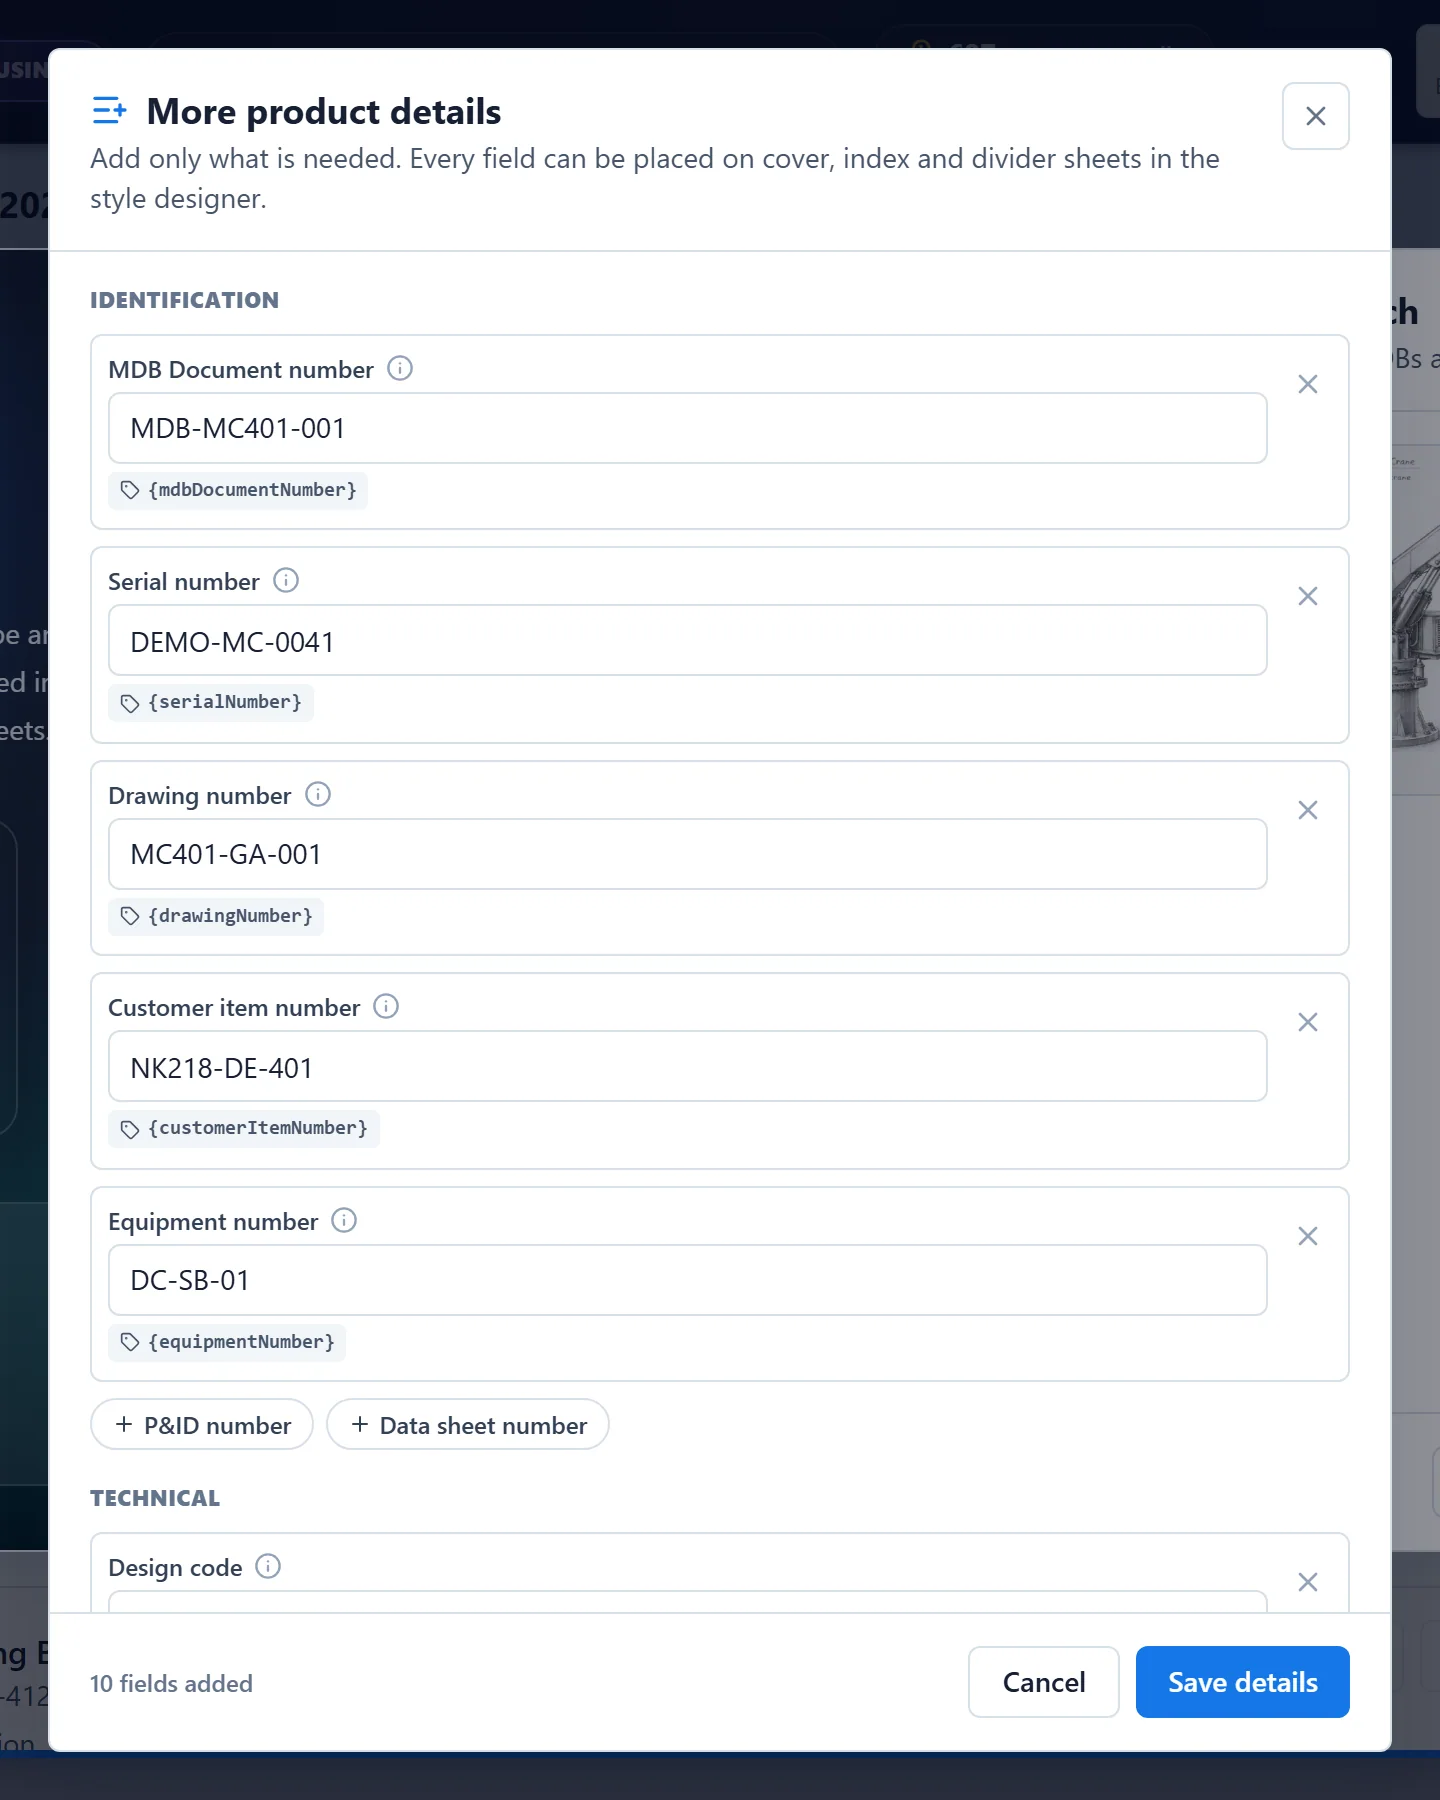
| Group | Fields |
|---|---|
| Identification | MDB Document number, Serial number, Drawing number, Customer item number, Equipment number, P&ID number, Data sheet number |
| Technical | Design code, Design pressure, Design temperature, Material, Weight, Dimensions |
| Production | Manufacturing location, Manufacturing date, Final inspection date, Shipment date |
Under Your own fields, click Custom field and fill in a Field name and a Value. Click Save details, and then save the product.
Every field is also a data token for the Style Studio, so you can place it on the cover, index and divider sheets. See Style the cover and index. More project details in the project window works the same way.
4. Keep product types consistent#
The Type field suggests the types already used in your company, with the number of products that use each. When you type a new type, it is added to the list.
An admin can tidy up that list in the company settings with Manage product types: add, rename or remove types. With Only allow types from this list switched on, the Type field shows List only and accepts only types from the list. See Permissions and company settings.
5. Reorder products#
In Add/edit products mode, drag a product by its grip to another position. Drag it onto another product to embed it there. The order of the list decides the book numbers, so they change with it. See Embedded products.
6. Delete and restore a product#
- In Add/edit products mode, click the red bin (Delete product) on the product's row.
- Read the confirmation and click Delete product.
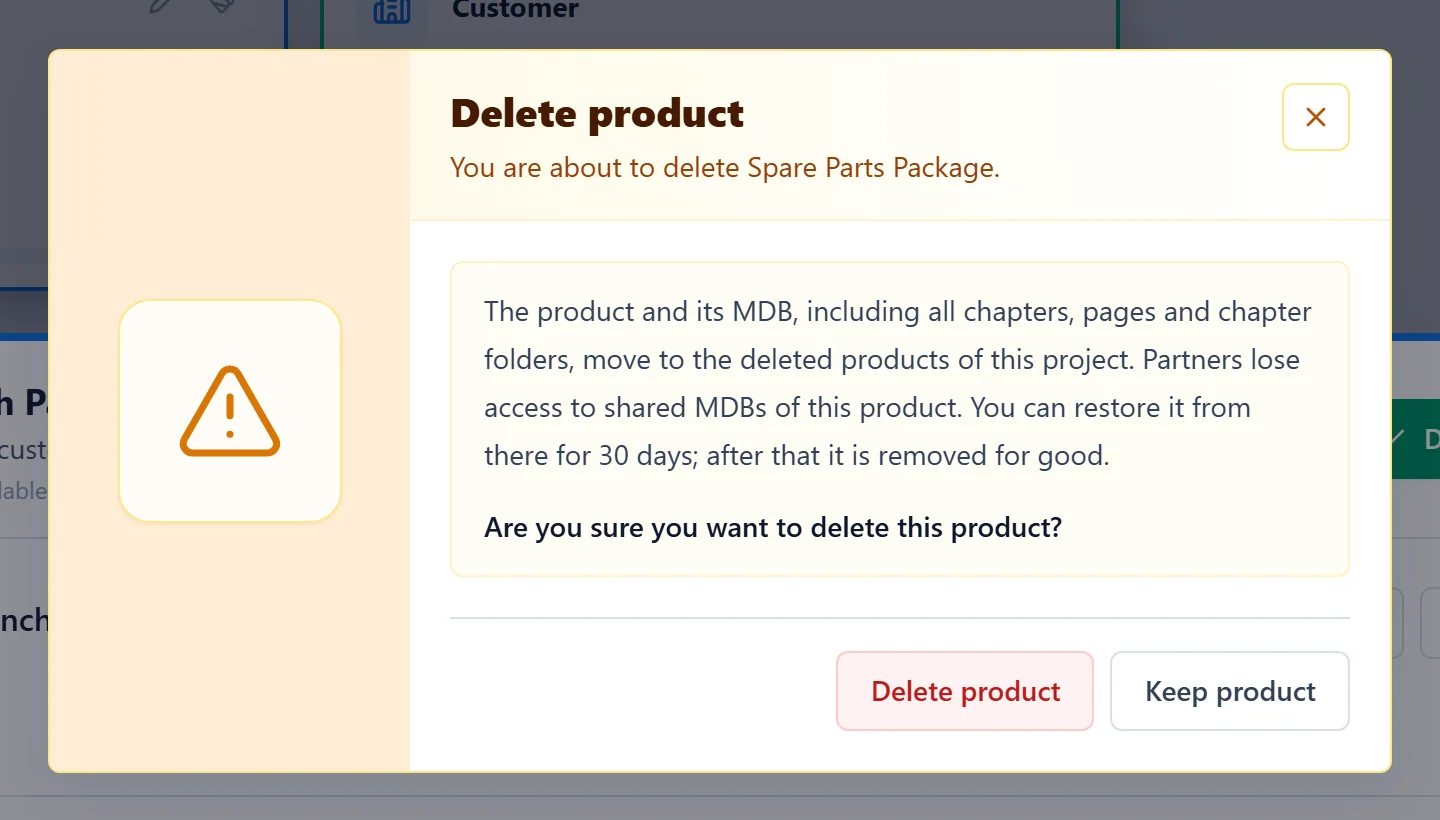
The product moves to Deleted products at the bottom of the list, together with its MDB, chapters, pages and chapter folders, and the products embedded in it. Partners lose access to MDBs of the product that you shared with them.
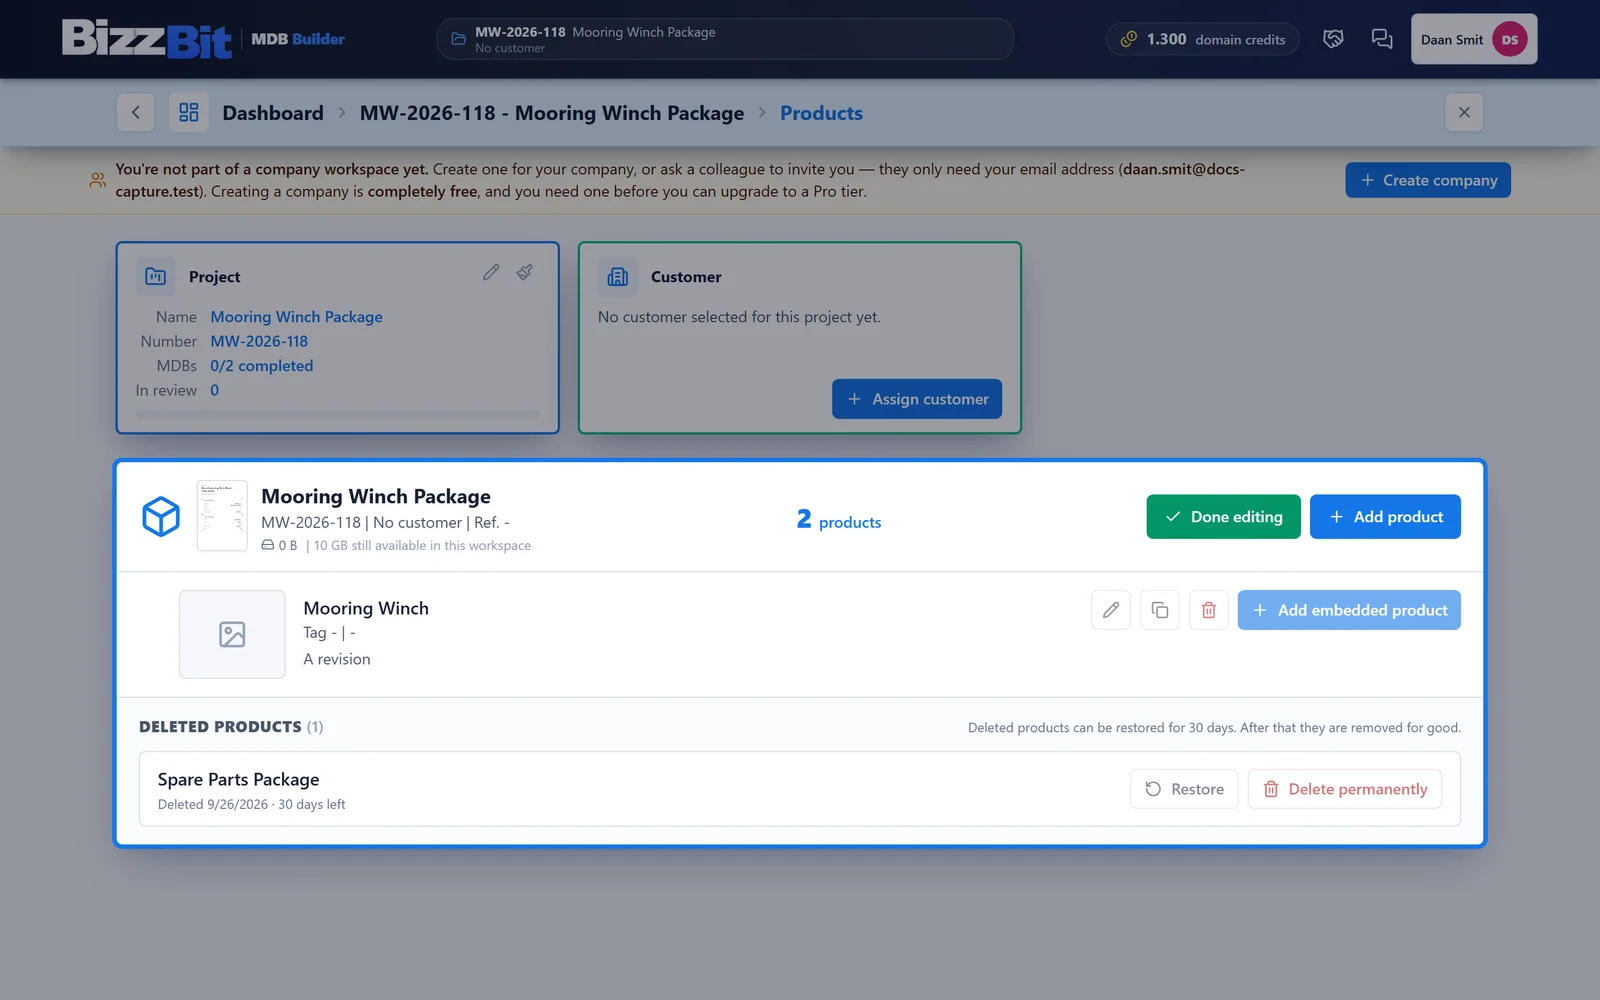
- Restore puts the product back, together with its embedded products. If its former parent product still exists, it is embedded there again. Shares with partners become active again.
- Delete permanently removes the product and its MDB for good, right away. This cannot be undone. In a Pro company only admins can do this.
When the retention period ends, a deleted product is removed for good. Until then its files still count towards your storage.
7. Delete and restore a project#
- In the projects list, click Edit projects.
- Click the red bin (Delete project) on the project's row and confirm with Delete project.
The project, with all its products and MDBs, moves to Deleted projects below the list. Its MDBs are closed for everyone, including partners you shared them with.
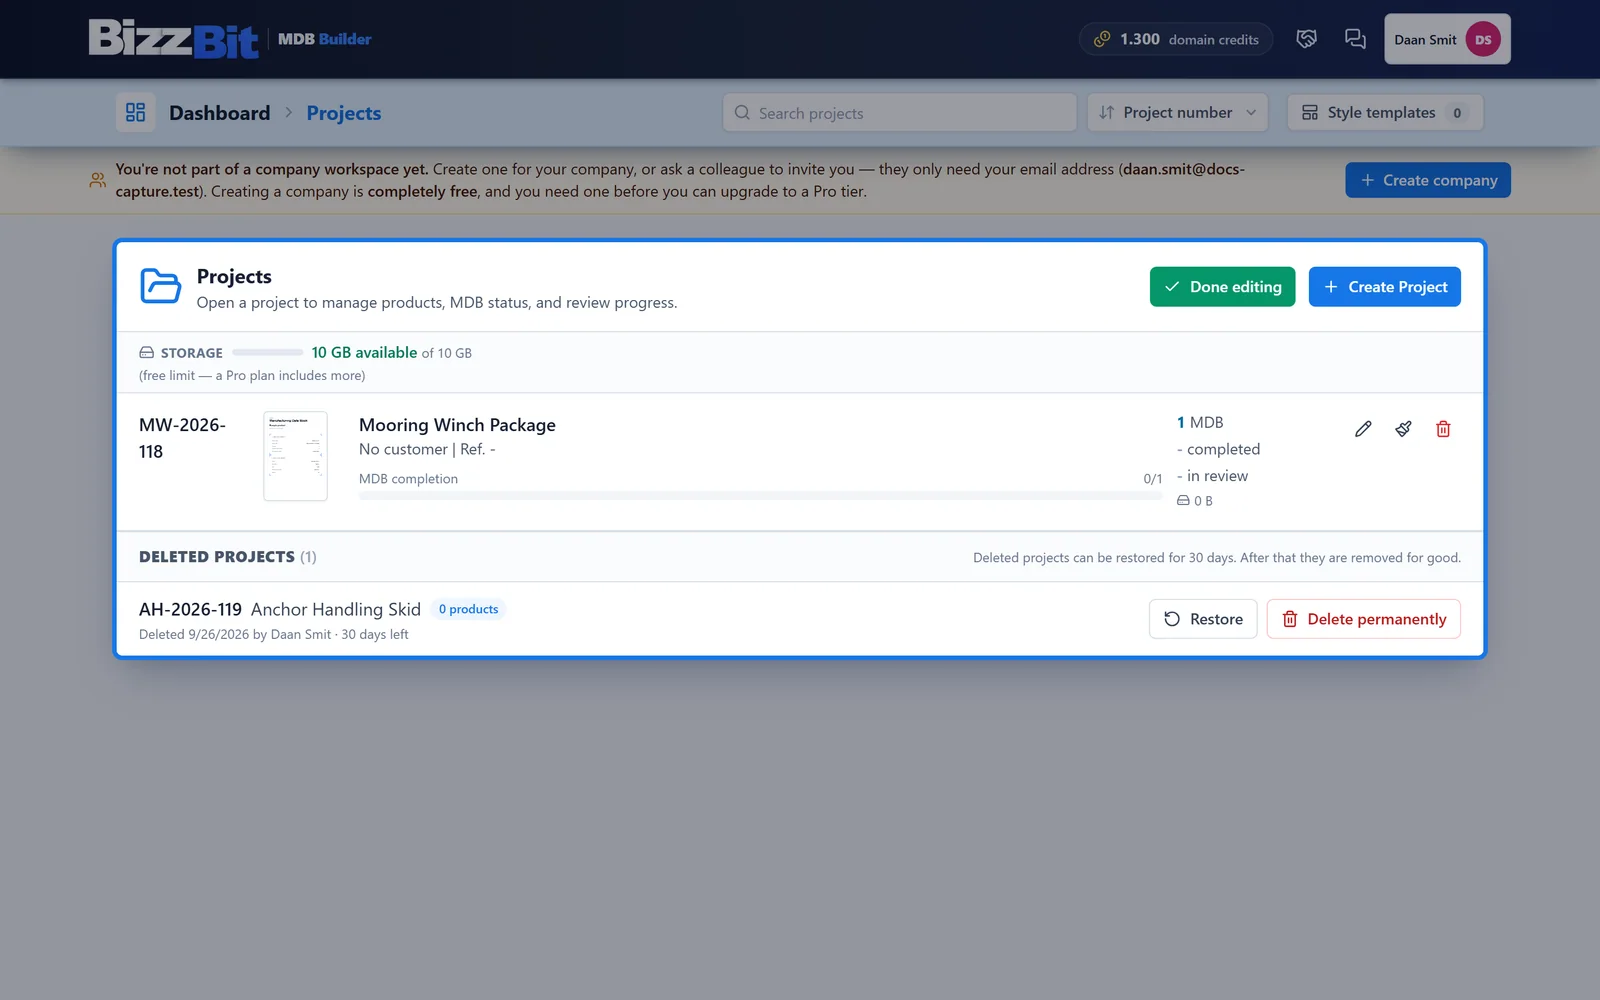
Restore and Delete permanently work as for products. A restored project whose number is now used by another project gets a warning.